Headless Server with VNC Remote Control

Headless Server with VNC Remote Control
Merry Christmas 🎉. This post covers how to access a Linux desktop remotely.
Experiment Outline
Purchase a server and install a desktop environment (gnome, plasma, mate or xfce). Run vncserver (tigervnc recommended) on the server, then connect using novnc (running on the server) or a VNC viewer such as RealVNC Viewer or Remmina.
Preparation
What is VNC
VNC (Virtual Network Computing) is a graphical desktop-sharing system that uses the Remote Framebuffer (RFB) protocol to control another computer’s screen. It lets you view and operate a remote desktop as if you were in front of it, making it ideal for remote work, tech support and education.
Why use VNC
As mentioned above, combining VNC with a desktop environment turns an otherwise command-line-only server into a real cloud PC (albeit without sound).
What is noVNC and why use it
noVNC is an open source project that lets you access a remote desktop through a web browser. It implements a VNC client using HTML5 WebSockets and Canvas. In short, you can connect and control a remote computer with a modern browser and no extra software. Using even a basic proxy, converting VNC to WSS makes the cloud PC feel much faster instead of sluggish.
Initial setup
A cloud server—Debian in this example
➜  ~ neofetch
       _,met$$$$$gg.          root@lab.oo0o.ooo
    ,g$$$$$$$$$$$$$$$P.       ----------------------------------
  ,g$$P"     """Y$$.".        OS: Debian GNU/Linux 12 (bookworm) x86_64
 ,$$P'              `$$$.     Host: OpenStack Nova 23.0.2
',$$P       ,ggs.     `$$b:   Kernel: 6.1.0-10-amd64
`d$$'     ,$P"'   .    $$$    Uptime: 44 days, 6 hours, 10 mins
 $$P      d$'     ,    $$P    Packages: 934 (dpkg)
 $$:      $$.   -    ,d$$'    Shell: zsh 5.9
 $$;      Y$b._   _,d$P'      Resolution: 1024x768
 Y$$.    `.`"Y$$$$P"'         Terminal: /dev/pts/0
 `$$b      "-.__              CPU: Intel Xeon E5-2696 v4 (1) @ 2.199GHz
  `Y$$                        GPU: 00:02.0 Cirrus Logic GD 5446
   `Y$$.                      Memory: 247MiB / 1967MiB
     `$$b.
       `Y$$b.
          `"Y$b._
              `"""
Walkthrough
Install the desktop environment
Take xfce as an example and install the desktop first (since you’ve read this far, be sure to bookmark Shinnku’s site!)
sudo apt update && sudo apt -y upgrade
sudo apt install -y tasksel

# If you're on Ubuntu you can simply run (wait, aren't we using Debian?)
sudo tasksel install xubuntu-desktop

# If you're on another system (including Ubuntu)
sudo tasksel
# Then choose xfce and press Enter

sudo apt install gtk2-engines
Installing vncserver
Extra steps you can ignore
Here are some unnecessary commands—see if you can guess what they do
export LIBGL_ALWAYS_INDIRECT=1
sudo /etc/init.d/dbus start &> /dev/null
Put the snippet above into ~/.bashrc or ~/.zshrc.
You can also create a file called /etc/sudoers.d/dbus and add the following in it using your username
your_user_name ALL = (root) NOPASSWD: /etc/init.d/dbusThis does come with risks but it should be ok for most.
install vncserver
apt install tigervnc-standalone-server tigervnc-xorg-extension tigervnc-scraping-serverBelow is the vncserver help output (pasted here to make the post look longer):
➜  ~ vncserver --help
vncserver usage:

  Help can be found in vncserver(1), or via usage of
     -help                   if specified, dumps this help message.
     -h                      is an alias for help.
     -?                      is an alias for help.

  To start a VNC server use vncserver [options] [-- session]
    [:<number>]              specifies the X11 display to be used.
    [-display <value>]       is an alias for :<number>.
    [-fg]                    if enabled, vncserver will stay in the foreground.
    [-useold]                if given, start a VNC server only if one is not already running.
    [-verbose]               if specified, debugging output is enabled.
    [-dry-run]               if enabled, no real action is taken only a simulation of what would be done is performed.
    [-PAMService <value>]    specifies the service name for PAM password validation that is used in case of security types Plain, TLSPlain, or X509Plain. On
                             default, vnc is used if present otherwise tigervnc is used.
    [-pam_service <value>]   is an alias for PAMService.
    [-PlainUsers <value>]    specifies the list of authorized users for the security types Plain, TLSPlain, and X509Plain.
    [-localhost [yes|no]]    if enabled, VNC will only accept connections from localhost.
    [-desktop <value>]       specifies the VNC desktop name.
    [-rfbport <number>]      provides the TCP port to be used for the RFB protocol.
    [-rfbunixpath <value>]   specifies the path of the Unix domain socket to be used for the RFB protocol.
    [-rfbunixmode <value>]   specifies the mode of the Unix domain socket, default is 0600.
    [-X509Key <value>]       denotes a X509 certificate key file (PEM format). This is used by the security types X509None, X509Vnc, and X509Plain.
    [-X509Cert <value>]      denotes the corresponding X509 certificate (PEM format).
    [-PasswordFile <value>]  specifies the password file for security types VncAuth, TLSVnc, and X509Vnc. On default, ~/.vnc/passwd is used.
    [-rfbauth <value>]       is an alias for PasswordFile.
    [-SecurityTypes <value>] specifies a comma list of security types to offer (None, VncAuth, Plain, TLSNone, TLSVnc, TLSPlain, X509None, X509Vnc,
                             X509Plain). On default, offer only VncAuth.
    [-geometry <value>]      specifies the desktop geometry, e.g., <width>x<height>.
    [-wmDecoration <value>]  if specified, shrinks the geometry by the given <width>x<height> value.
    [-xdisplaydefaults]      if given, obtain the geometry and pixelformat from a running X server.
    [-xstartup [<value>]]    specifies the script to start an X11 session for Xtigervnc.
    [-noxstartup]            disables X session startup.
    [-depth <number>]        specifies the bit depth of the desktop, e.g., 16, 24, or 32.
    [-pixelformat <value>]   defines the X11 server pixel format. Valid values are rgb888, rgb565, bgr888, or bgr565.
    [-autokill [yes|no]]     if enabled -- the default -- the VNC server is killed after its X session has terminated.
    [-fp <value>]            specifies a colon separated list of font locations.
    [Xtigervnc options...]   For details, see Xtigervnc(1).
    [-- <session>]           specifies the X11 session to start with either a command or a session name.

  To list all active VNC servers of the user use vncserver
     -list                   if provided, all active VNC servers of the user are listed.
    [:<number>]              specifies the X11 display to be used.
    [-display <value>]       is an alias for :<number>.
    [-rfbport <number>]      provides the TCP port to be used for the RFB protocol.
    [-rfbunixpath <value>]   specifies the path of the Unix domain socket to be used for the RFB protocol.
    [-cleanstale]            if provided, clean up pid and lockfiles of stale VNC server instances of the user.

  To kill a VNC server use vncserver
     -kill                   if provided, kill the specified VNC server of the user.
    [:<number>]              specifies the X11 display to be used.
    [-display <value>]       is an alias for :<number>.
    [-rfbport <number>]      provides the TCP port to be used for the RFB protocol.
    [-rfbunixpath <value>]   specifies the path of the Unix domain socket to be used for the RFB protocol.
    [-dry-run]               if enabled, no real action is taken only a simulation of what would be done is performed.
    [-verbose]               if specified, debugging output is enabled.
    [-clean]                 if specified, the log files of the terminated VNC session will also be removed.

  To dump version information use vncserver
    [-version]               dumps version information of underlying Xtigervnc VNC server.
Next, run
➜  ~ vncserver -localhost no

You will require a password to access your desktops.

Password:
Verify:
Would you like to enter a view-only password (y/n)? n
A view-only password is not used
/usr/bin/xauth:  file /root/.Xauthority does not exist

New Xtigervnc server 'lab.nkd.red:1 (root)' on port 5901 for display :1.
Use xtigervncviewer -SecurityTypes VncAuth,TLSVnc -passwd /tmp/tigervnc.TJqJuC/passwd lab.nkd.red:1 to connect to the VNC server.
And now the result:
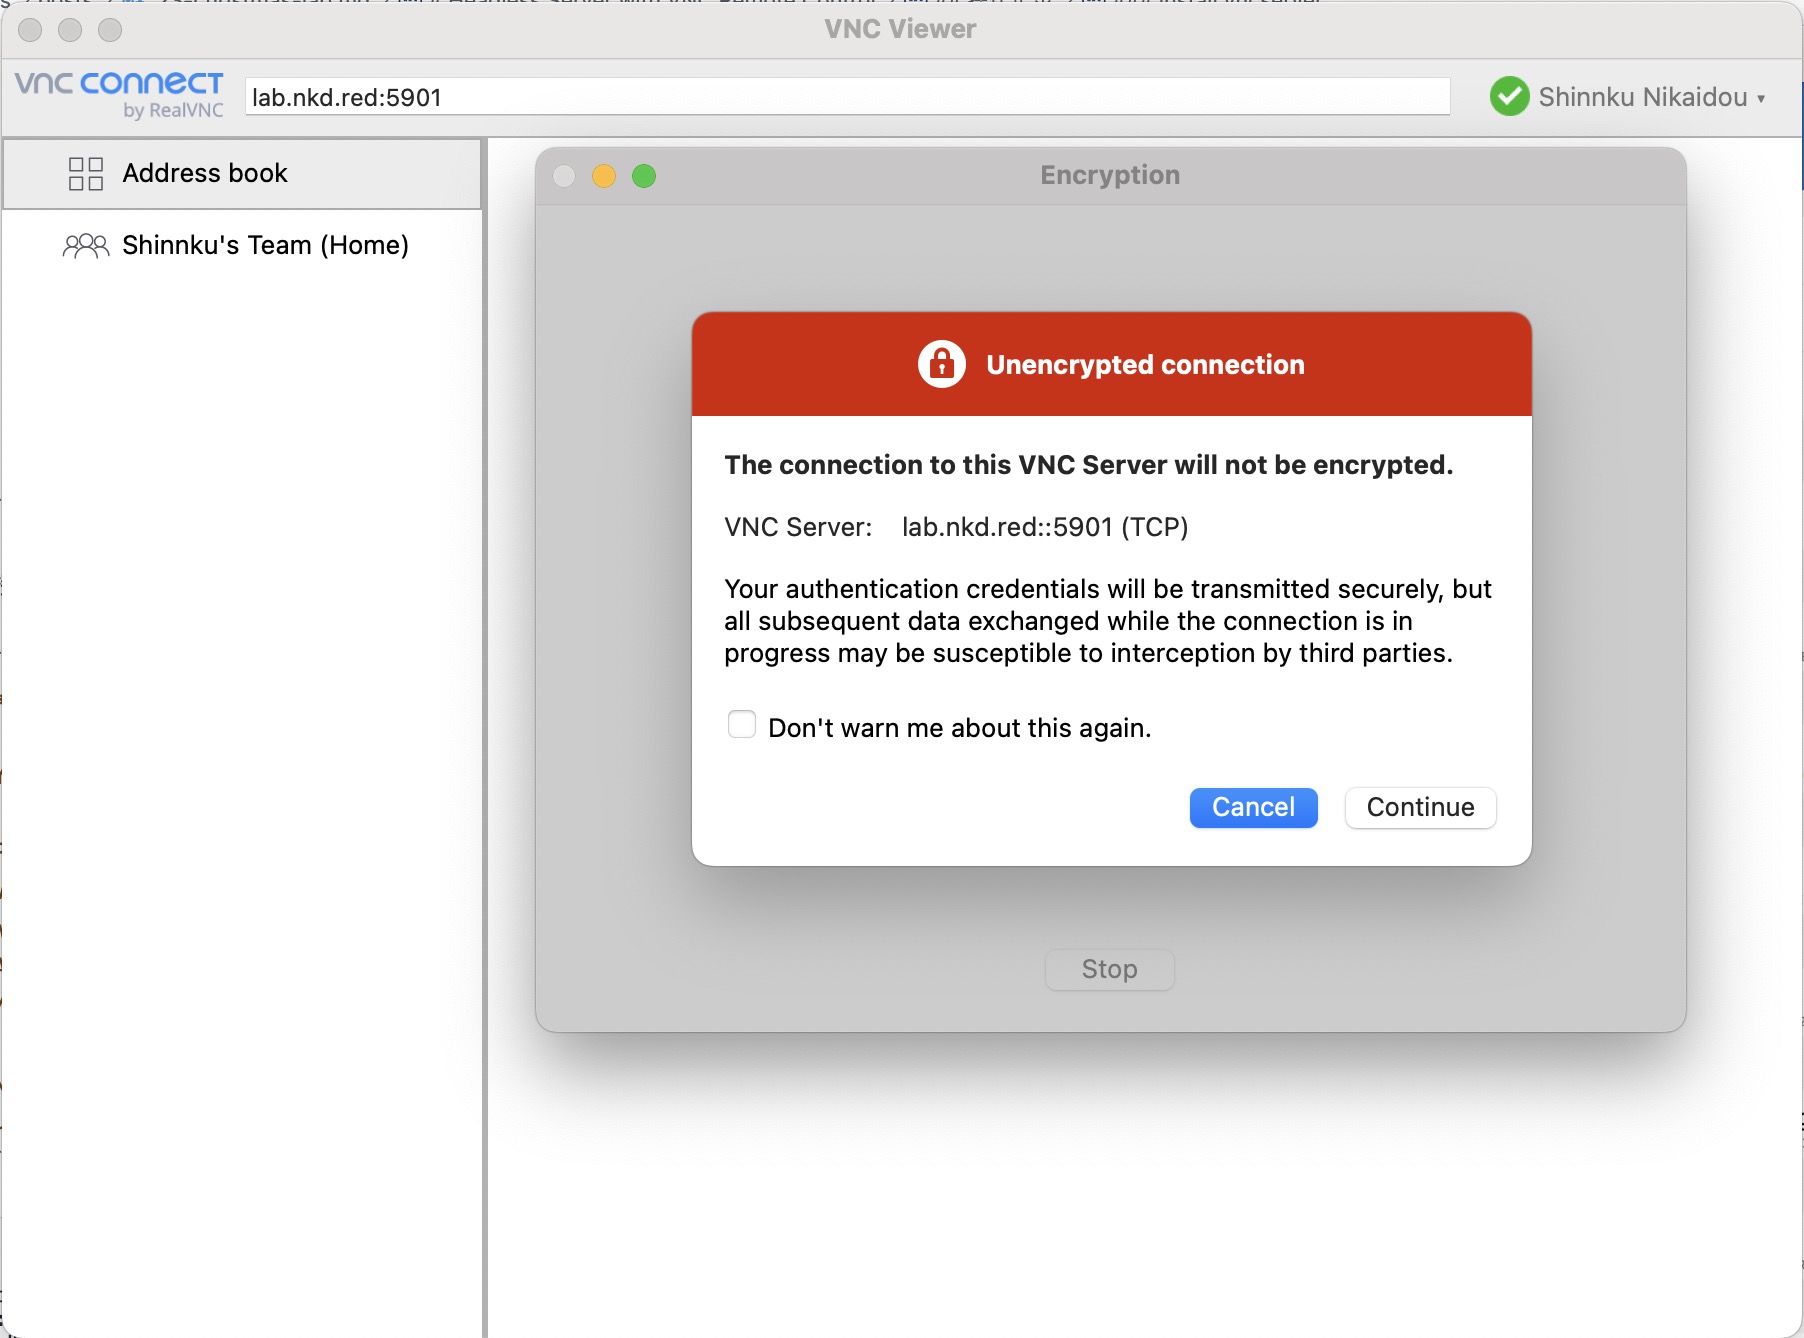
Screenshot of the VNC viewer on macOS
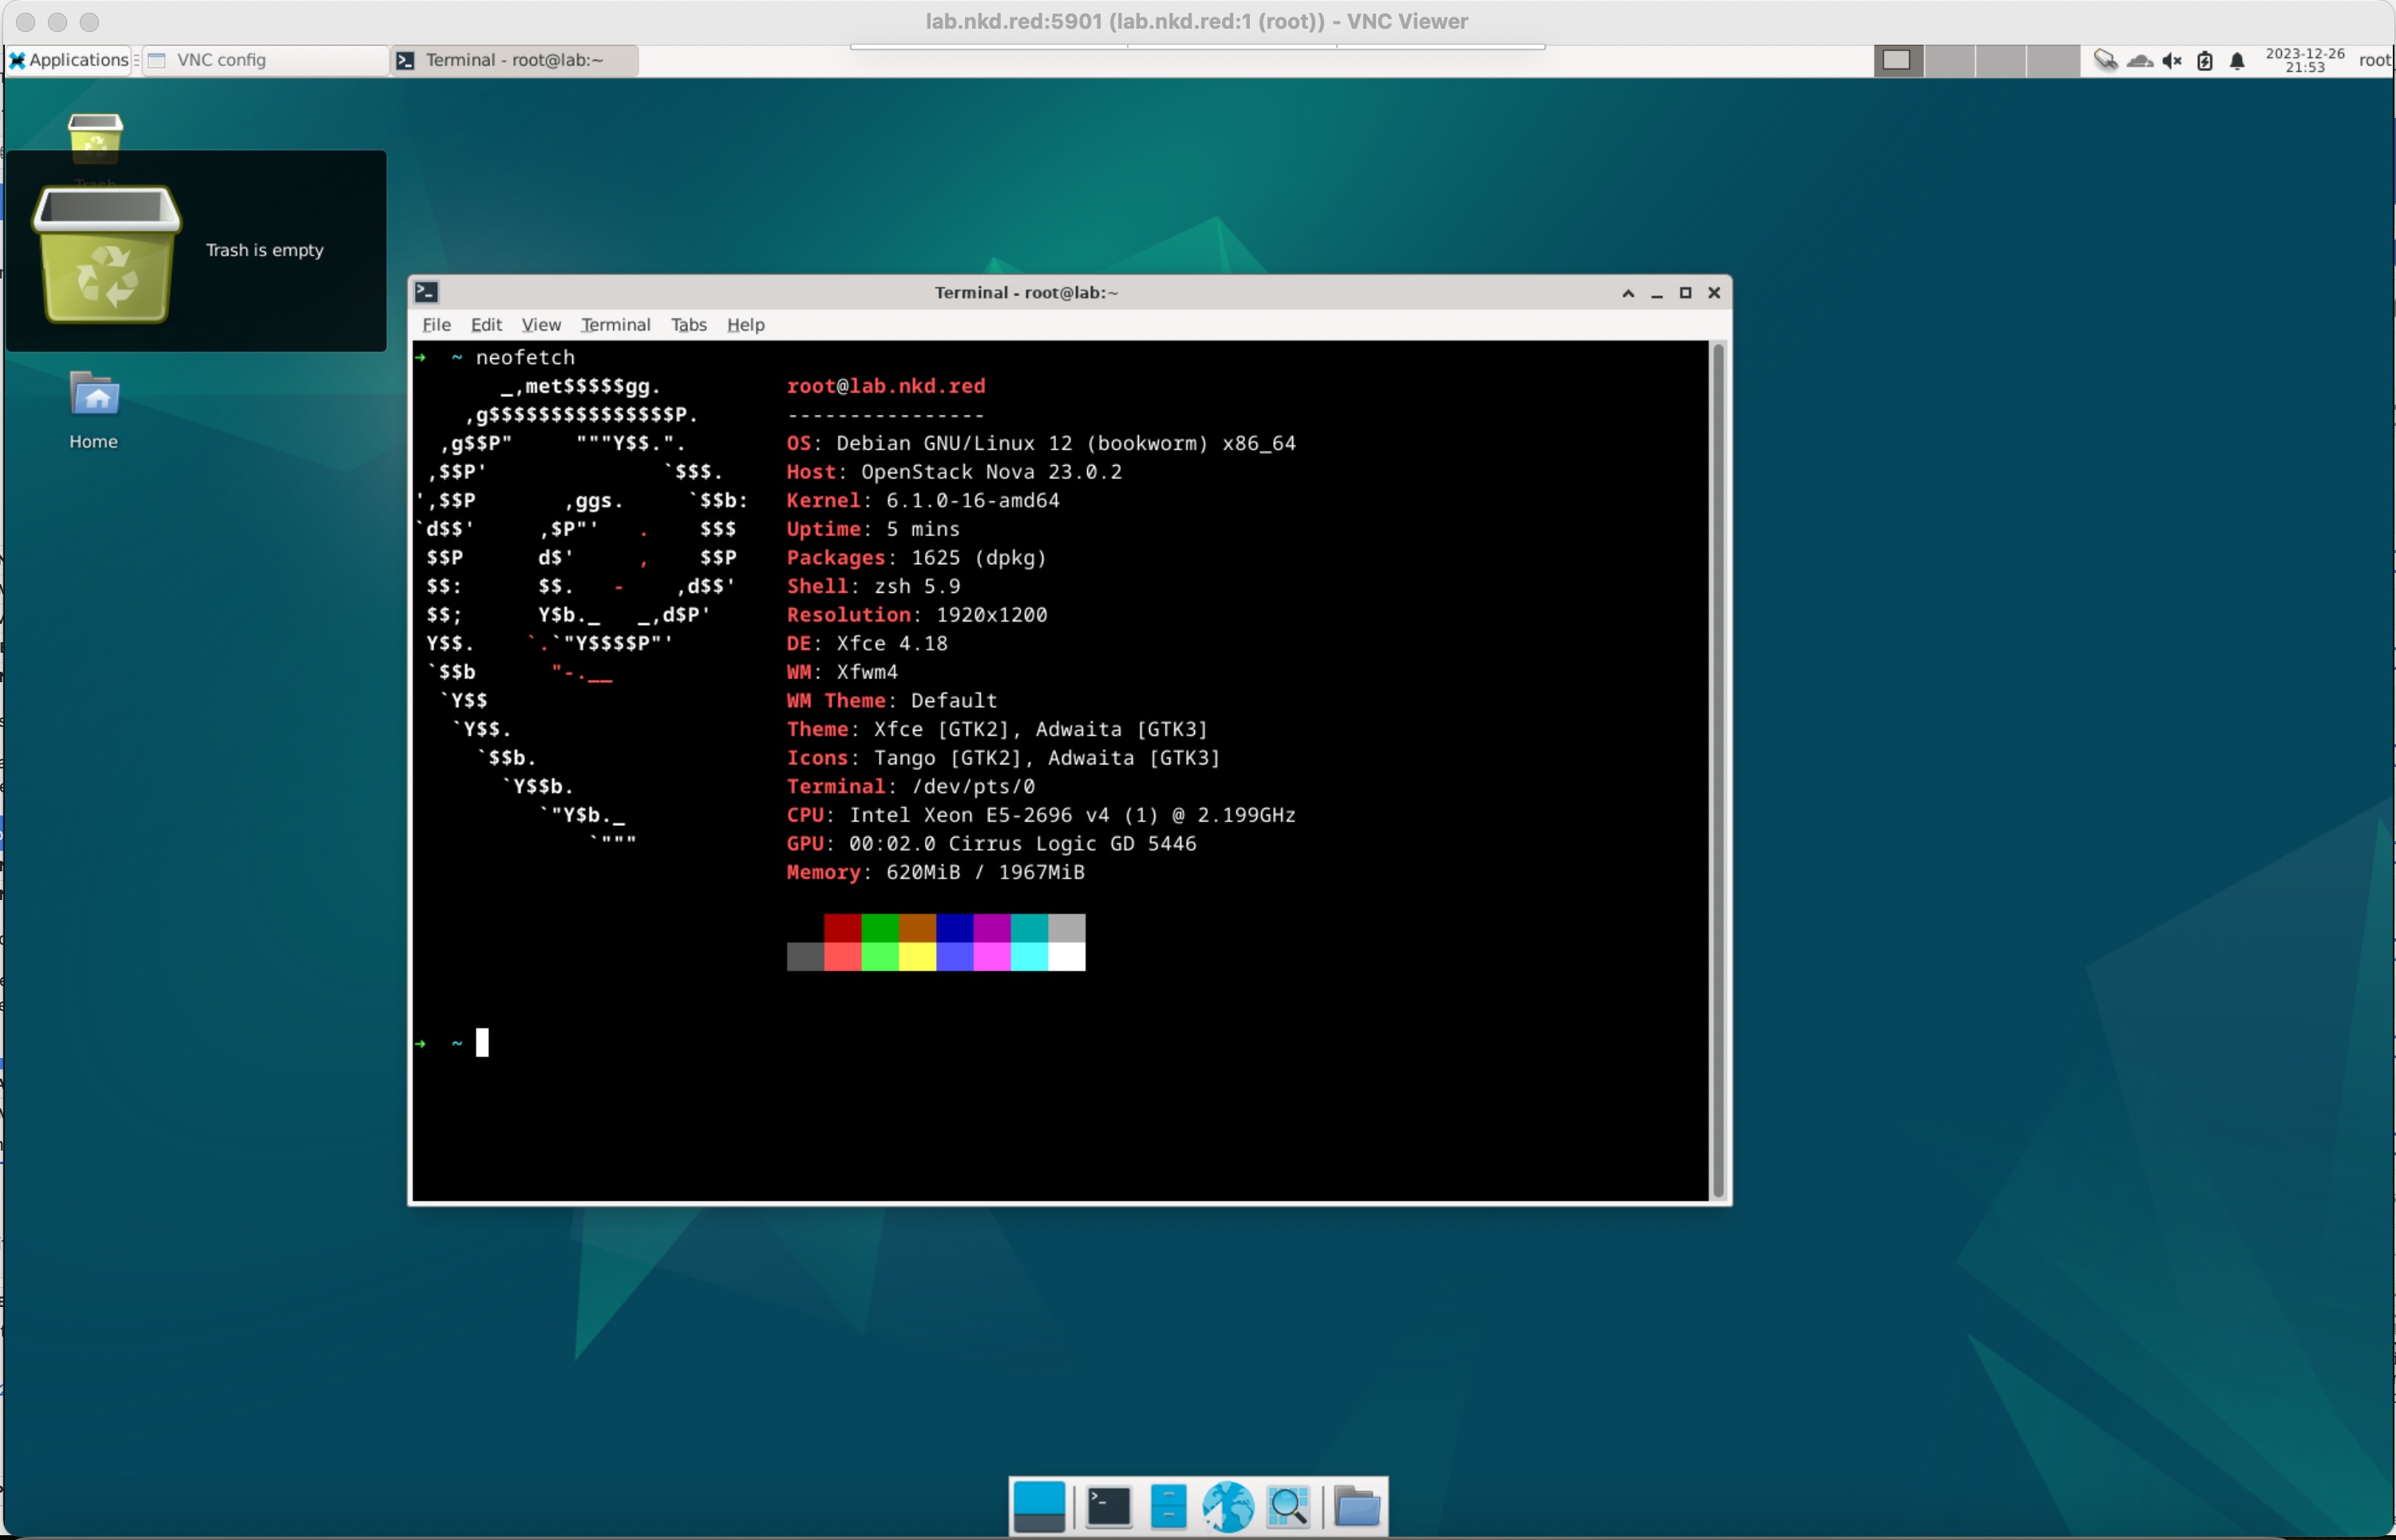
Connected to the server’s VNC instance
Install noVNC
https://github.com/novnc/noVNC
First clone with git clone https://github.com/novnc/noVNC.git.
Then run cd noVNC
Install nodejs and pnpm
curl -sL https://deb.nodesource.com/setup_20.x | sudo -E bash -
sudo apt install nodejs -y
curl -fsSL https://get.pnpm.io/install.sh | sh -
source /root/.zshrc # source /root/.bashrc
Build noVNC
Even though we installed pnpm above, we’ll still use npm—don’t ask why.
npm i
npm run lint
npm run prepublish

# Install numpy to speed up noVNC
apt install python3-numpy
Run noVNC
Assume your vncserver is running on port 5901.
➜  noVNC git:(master) ✗ ./utils/novnc_proxy --vnc localhost:5901 --listen 0.0.0.0:8080
Warning: could not find self.pem
Starting webserver and WebSockets proxy on host 0.0.0.0 port 8080
WebSocket server settings:
  - Listen on 0.0.0.0:8080
  - Web server. Web root: /root/codes/noVNC
  - No SSL/TLS support (no cert file)
  - proxying from 0.0.0.0:8080 to localhost:5901

Navigate to this URL:
    http://0.0.0.0:8080/vnc.html?host=0.0.0.0&port=8080

Press Ctrl-C to exit
I modified the URL to http://lab.nkd.red:8080/vnc.html?host=lab.nkd.red&port=8080 and opened it in a browser
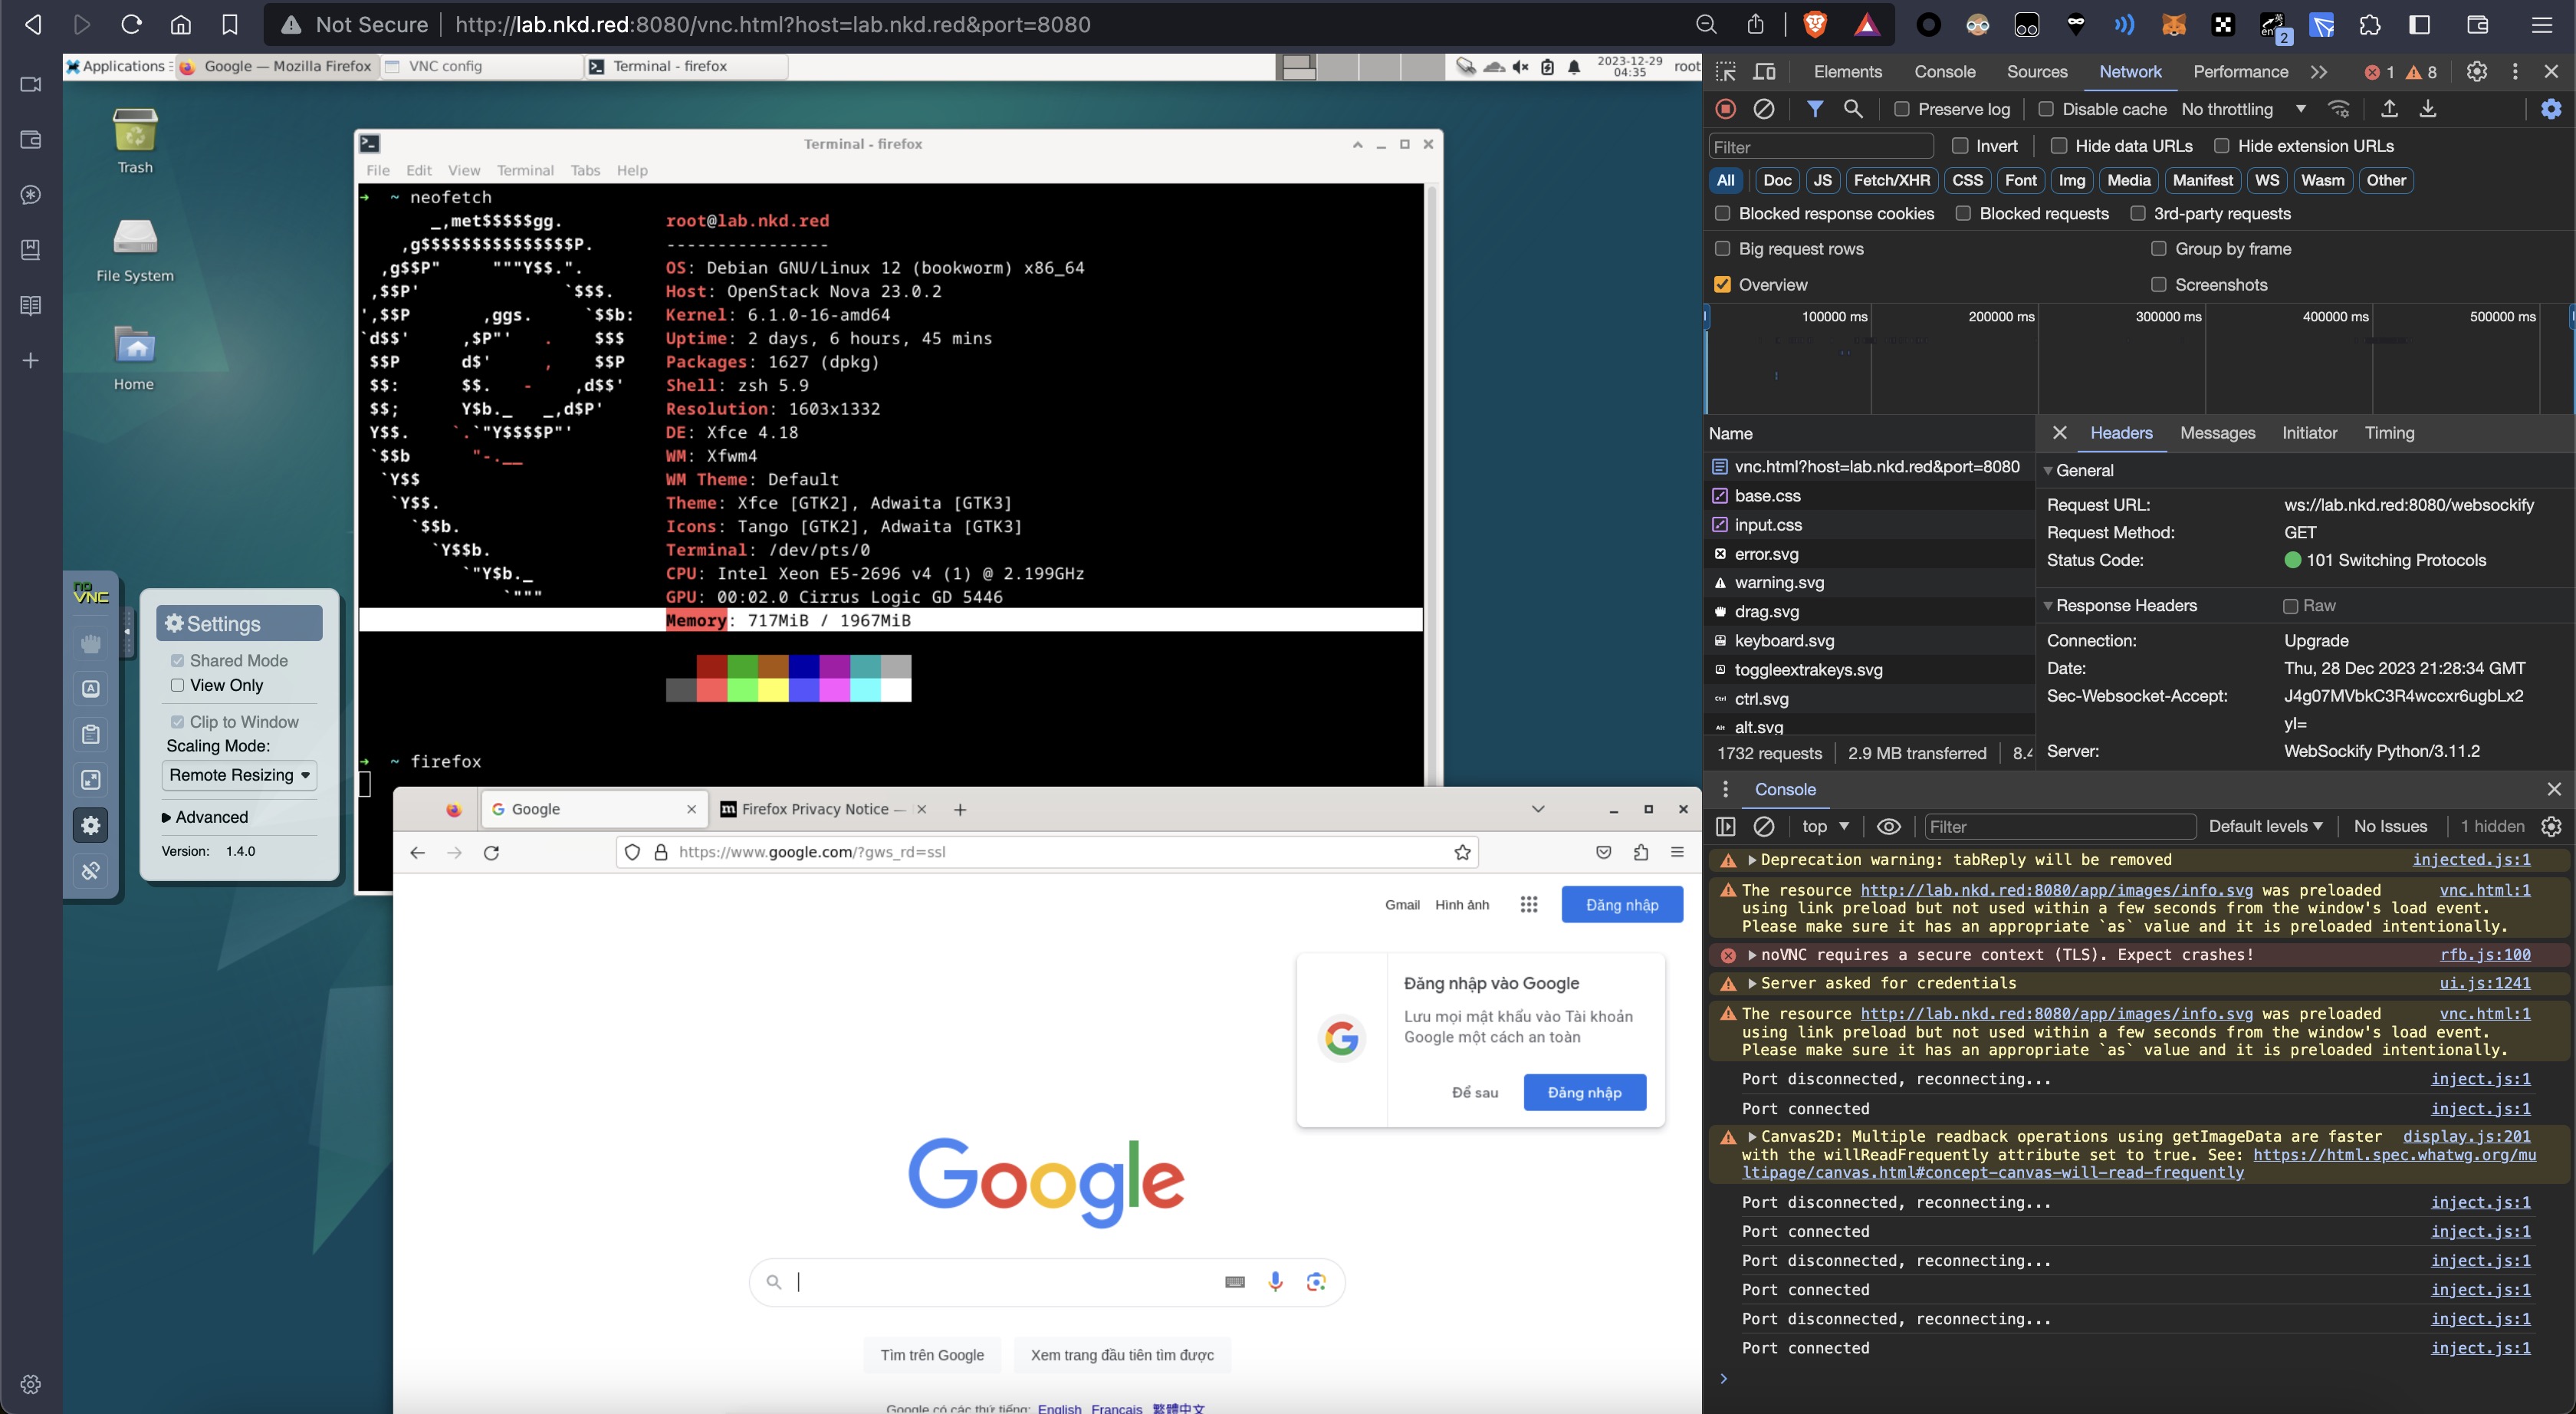
The page opened successfully and felt very smooth.
Remember to enable remote resizing in the settings and learn to use the clipboard—it helps a lot.
Fun stuff
The picture says it all
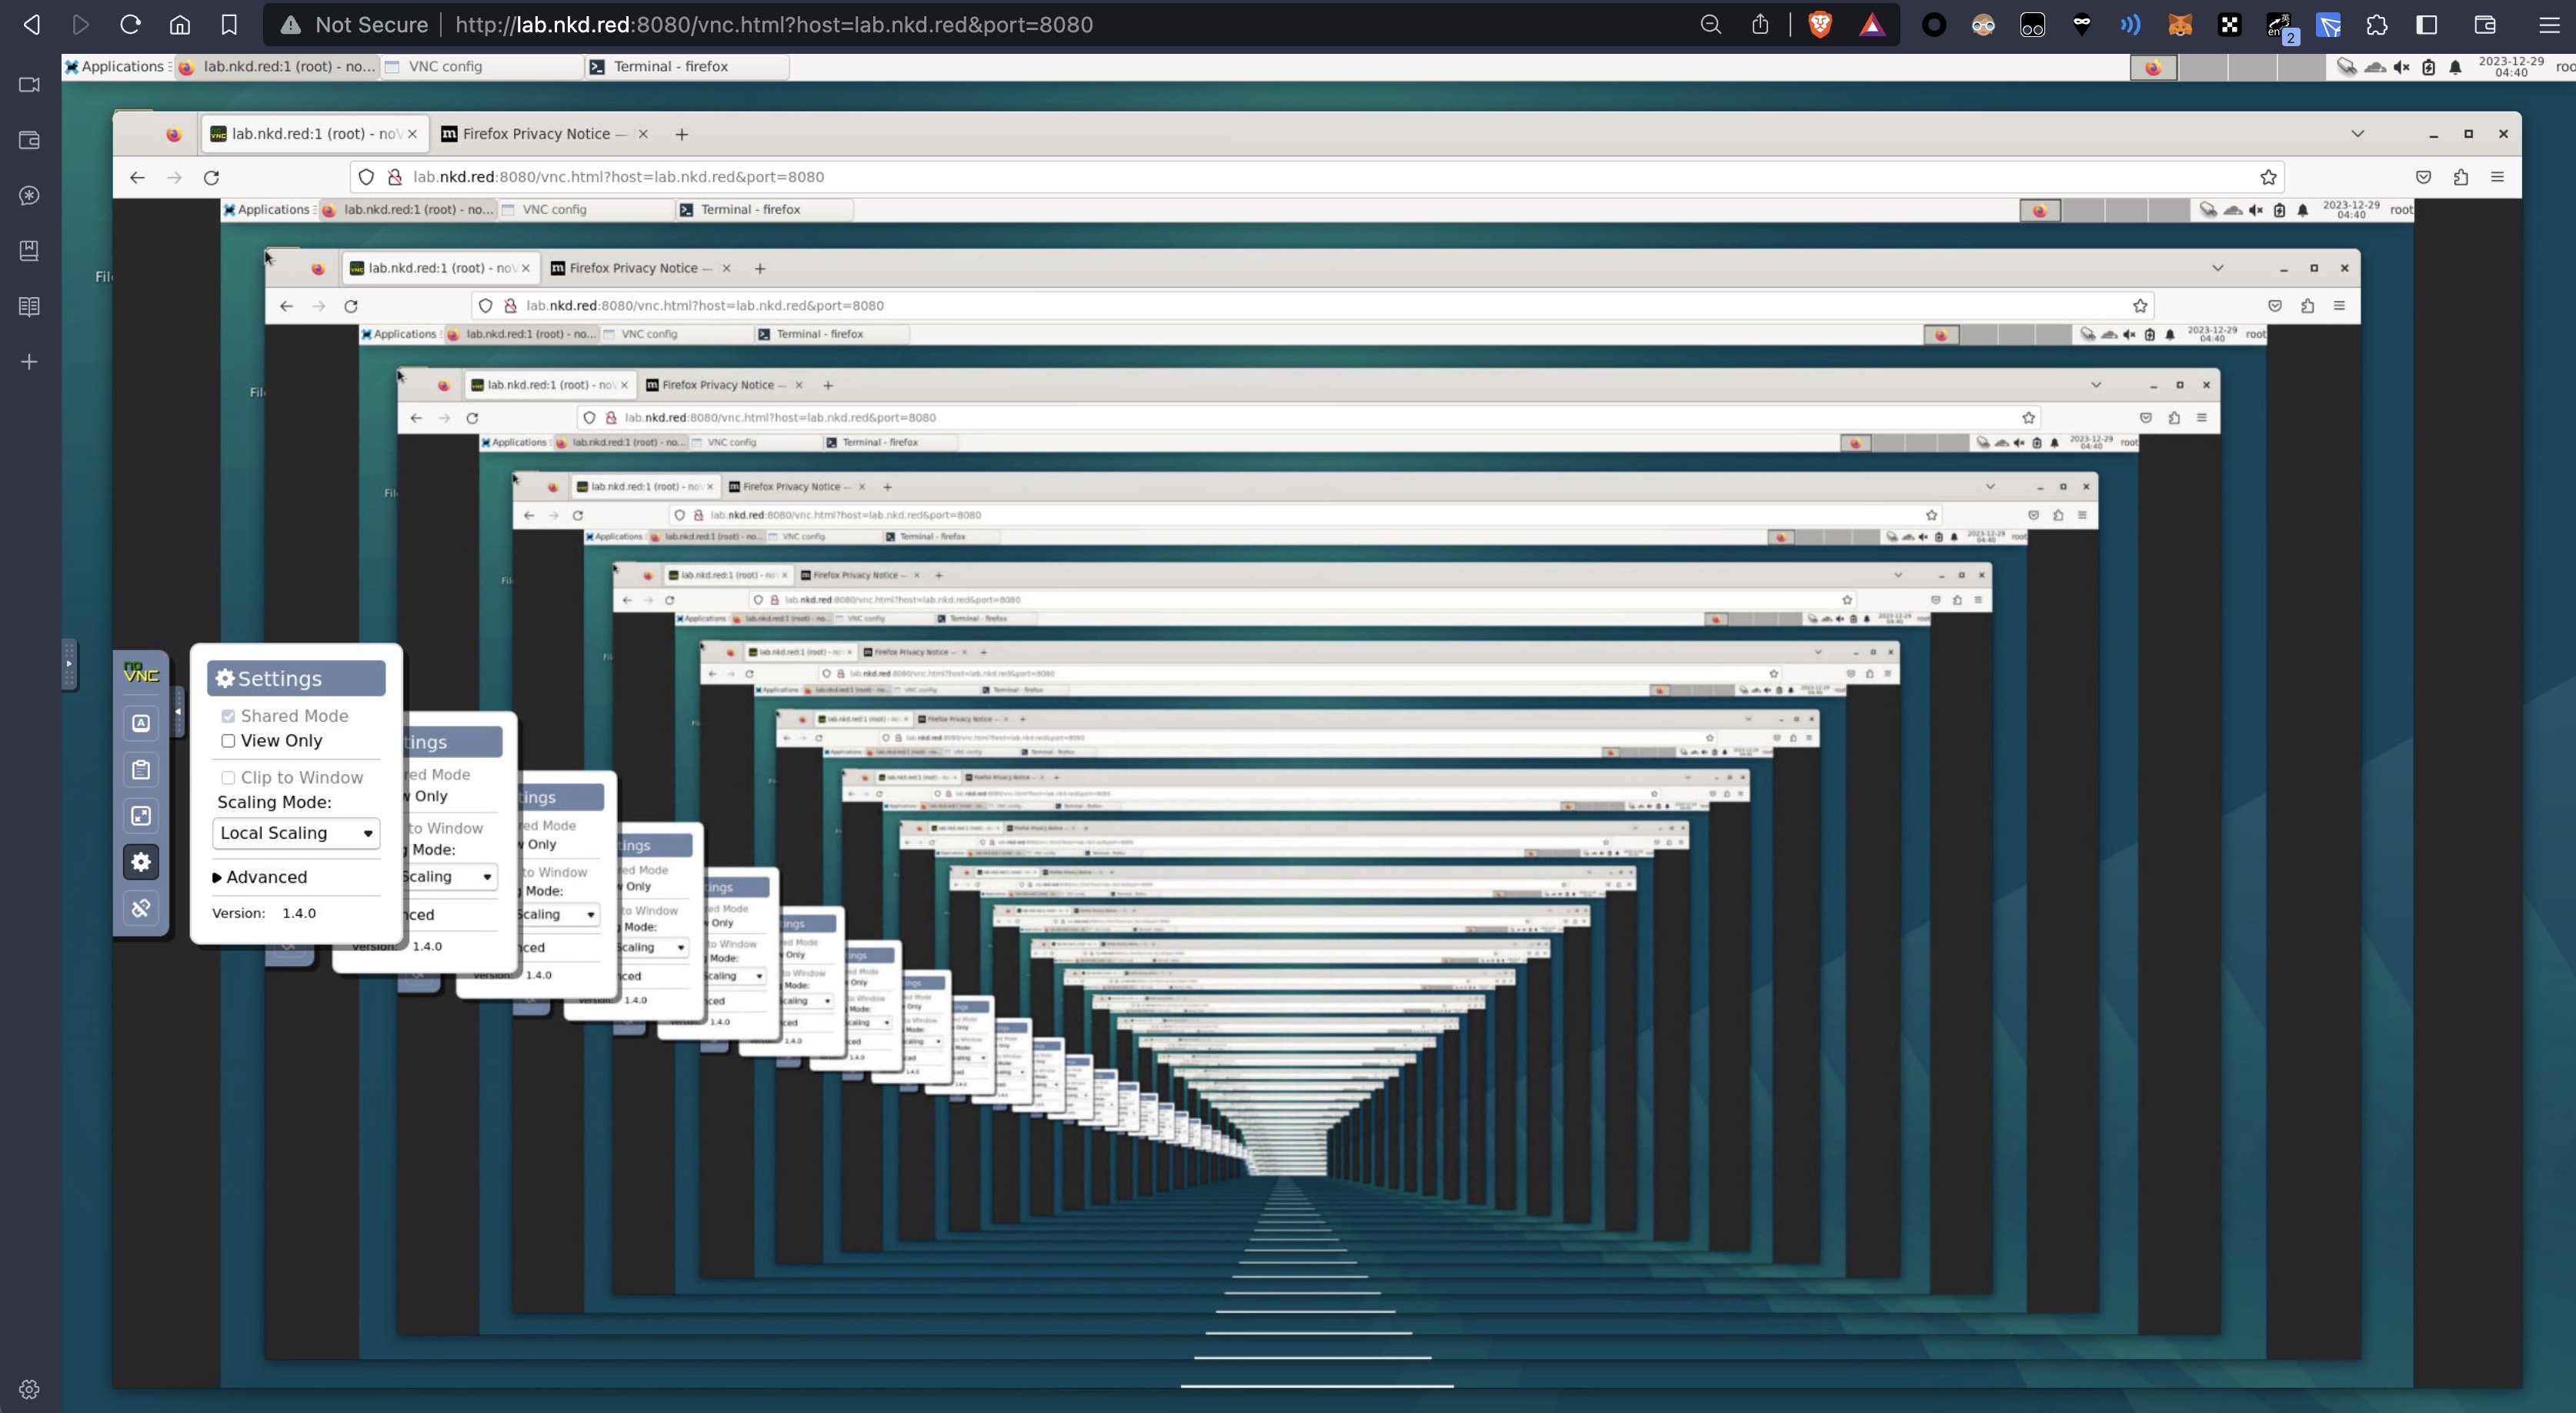 An endless hallway loop.
Configure noVNC with SSL (optional)
install certbot
sudo snap install core; sudo snap refresh core
sudo snap install --classic certbot
sudo ln -s /snap/bin/certbot /usr/bin/certbot
snap set certbot trust-plugin-with-root=ok
sudo snap install certbot-dns-cloudflare

mkdir -p .secrets/certbot

vim .secrets/certbot/cloudflare.ini
The contents should be similar to the following. Retrieve your Cloudflare API token via My Profile -> API Tokens -> Edit DNS Zone and paste it here.
# Cloudflare API token used by Certbot
dns_cloudflare_api_token = xxxXXxxxxxXxxxxxxXxx-w-xxxx-XxxxxX
chmod 600 ~/.secrets/certbot/*Next we sign the certificate for my domain lab.nkd.red
Wildcard certificate
Here we use nkd.red, *.nkd.red as an example.
One command takes care of it—nothing else required
certbot certonly --dns-cloudflare --dns-cloudflare-credentials ~/.secrets/certbot/cloudflare.ini --dns-cloudflare-propagation-seconds 30 -d \*.nkd.red -d nkd.redThis command uses Certbot—a free certificate management tool for automating Let’s Encrypt SSL certificates—to obtain an SSL/TLS certificate via Cloudflare’s DNS records. The options are explained below:
certbot certonly: obtain or renew the certificate without configuring the web server.--dns-cloudflare: use Cloudflare’s DNS API for domain ownership verification.--dns-cloudflare-credentials ~/.secrets/certbot/cloudflare.ini: path to your Cloudflare API credentials.--dns-cloudflare-propagation-seconds 30: wait 30 seconds for DNS records to propagate.-d *.nkd.red: request a wildcard certificate for*.nkd.red.-d nkd.red: also request a certificate for the root domainnkd.red.
In short, the command obtains a wildcard SSL/TLS certificate for nkd.red and all its subdomains using Certbot and the Cloudflare DNS API. It verifies domain ownership via DNS and waits 30 seconds for propagation, allowing one certificate to secure every subdomain.
(generated by ChatGPT 4)
If your domain isn’t on Cloudflare (for example if you use DNSPod or another provider), perform manual DNS verification instead:
certbot certonly --manual \
  --preferred-challenges=dns \
  --email admin@nkd.red \
  --server https://acme-v02.api.letsencrypt.org/directory \
  --agree-tos \
  -d nkd.red \
  -d "*.nkd.red"
Follow the prompts to complete the process
run noVNC with ssl
Warn: If you use snap install noVNC, due to standard Snap confinement restrictions you need to have them in the /home/<user>/snap/novnc/current/ directory.
An example command would be on port 8443:
./utils/novnc_proxy \
  --vnc localhost:5901 \
  --listen 0.0.0.0:8443 \
  --cert /etc/letsencrypt/live/nkd.red/fullchain.pem \
  --key /etc/letsencrypt/live/nkd.red/privkey.pem
Then visit https://lab.nkd.red:8443/vnc.html?host=lab.nkd.red&port=8443.
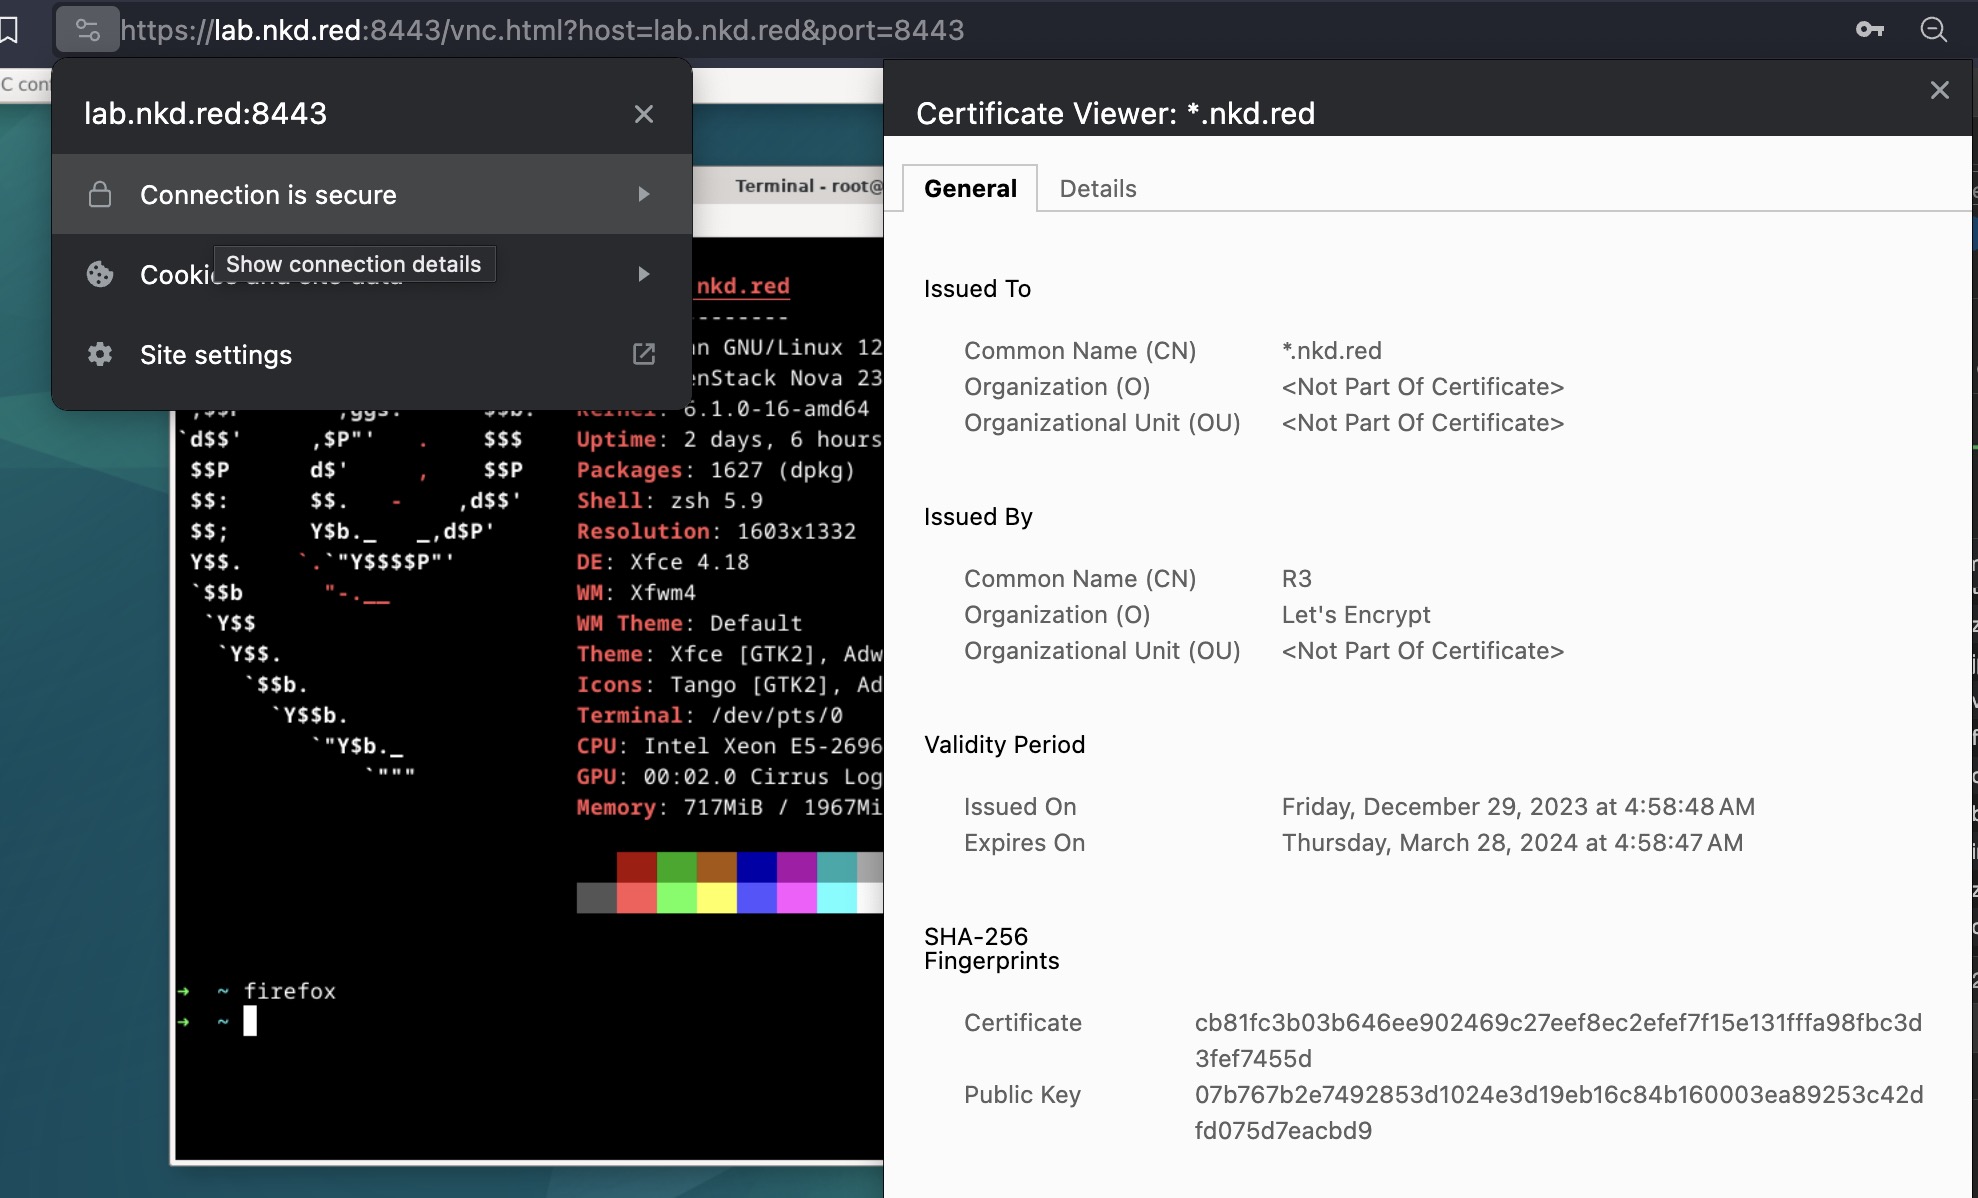
run noVNC with ssl/tls/https